


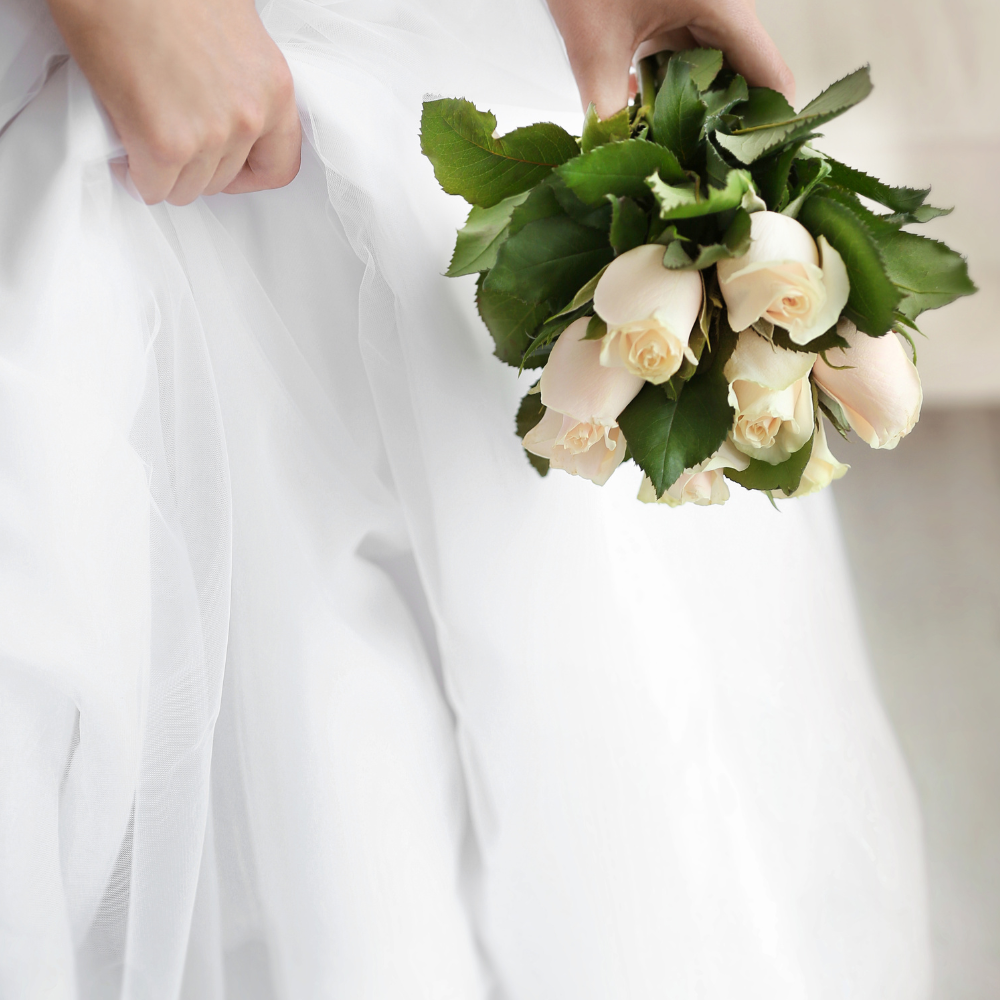
The wedding season is almost around the corner with the wedding bells ringing louder, calling out the names of the lucky couples. And yes, it may not sound surprising, but you can save time and money by applying your bridal makeup by yourself. A perfect wedding makeup might look harder than it really is, but with the right products and tips, you can definitely do the look by yourself. Ahead, we’ve rounded up 8 easy steps to create a natural wedding makeup look to help inspire you.
On the big wedding day, there’s no doubt that everything must be perfect - from makeup, hair, and dress to the table setting and menu. It could definitely be nice if a makeup artist pulled off the perfect natural glam look. However, a beautiful makeup does not necessarily require professional skills. So are you looking for an effortless look, then this one takes the cake! Keep scrolling and get our step-by-step guide on a bronzy bridal makeup that’s perfect for brides or even wedding guests.
Watch how we at DUFF create a natural bridal makeup on Nadia from the DUFF team, and get the easy guide for the makeup below.
Step 1: Natural brows
Start by shaping and filling in your eyebrows with an eyebrow shadow or a regular eyeshadow. To create a natural look, it’s important that you choose a tone that isn’t too dark or dramatic.
This Brow Powder Duo by Anastasia Beverly Hills creates a natural finish, as the powder blends beautifully into the eyebrows. You can get the eyebrow powder in ten different colors, why you definitely will find one that matches your brows. A good rule of thumb is to follow the natural shape of the brow and use a small, angled brush to fill in the brow.
Step 2: Golden, bronzy eyes
The next step is to apply a beautiful, golden eyeshadow. For a wedding makeup, natural colors such as champagne and bronze tones are perfect for creating a glowy eye makeup look. You should therefore avoid applying very dark or colorful eyeshadows unless you’re going for a full glam, dramatic look.
You can create the most beautiful and simple effect by applying a matte light brown eyeshadow on the entire eyelid and up to the crease of your eye. Use a large eyeshadow brush and blend well to avoid sharp lines. Then, apply a champagne, golden, or bronze color on the middle of the eyelid to make your eyes pop. Try to avoid applying the golden color too far up on the eyelid. Then, highlight your eyes by applying the same matte light brown color under the eye to complete the look.
This eyeshadow palette Eye Shadow X9 Palette Amber Times Nine by Mac has the most beautiful matte and shimmery colors. The palette has a fine selection of brown and champagne shades that goes perfectly well with an elegant wedding makeup.
Step 3: Flawless skin
Once you’re satisfied with your eye makeup, the next step is to apply a natural base. To make sure that your foundation doesn’t slip off or gather around the fine lines or dry areas on the skin, apply a primer before applying foundation. This Superprimer - Universal Face Primer by Clinique is perfect for the purpose! It’s a light, oil-free primer that creates an ideal base for makeup. Further, it color-corrects the skin flawlessly, prepares the skin, and makes the makeup last all day and night!
When choosing a foundation on the wedding day, it’s important to keep your skin type in mind. If you’ve dry skin, it’s a good idea to use a foundation that moisturizes during the day to avoid a flaky or cakey look after a few hours. If, on the other hand, you’ve oily skin, go for an oil-free foundation, which will keep your skin dewy and matte. Apply just a dab of foundation on each side of your nose, and in the center of your forehead and chin, then blend outward. After blending, see if there are any imperfections you wanna cover up even more by applying a light layer of foundation to those specific areas. Use a concealer to cover blemishes and dark circles for a flawless finish.
Step 4: Bronzy glow
Bronzer is perfect for a wedding makeup as it brings out the right glow and warmth to your face. Choose a bronzer in a shade that is perfect for your skin tone that looks like a natural tan – which will create a natural, sun-kissed finish. Apply the bronzer on the areas where the sun naturally would hit your face on a sunny day - at the temples, along the hairline of the forehead, the bridge of the nose, and the apples of the cheeks - follow your cheek and jaw contour to sculpt your face to create a natural airbrushed and glowy look. Use a large, soft brush for the application, as it will give a light and natural result. Avoid choosing a bronzer with shimmer, as the main focus of attention should be the gorgeous, bronzy eyes.
Mineralize Skinfinish Natural by MAC is a baked powder that gives a natural makeup look with a matte finish. The bronzer is perfect for a bronzy look, as it leaves the skin with a flawless and natural glow.
Step 5: Subtle eyeliner
Use a brown eyeliner pencil to draw your lower waterline. An eyeliner will give a little intensity to the eye, while the brown color will naturally tone down the look.
This long-lasting eyeliner pencil by Lancôme is a smooth, creamy liner that gives a seamless application. The eyeliner pencil is in brown, which is perfect for creating both a light, subtle, and natural look.
Step 6: Prep the lashes
The next step is to prep your lashes. Start by curling your lashes with DUFF's Eyelash Curler, which gives a beautiful curl that lasts all day. Our eyelash curler is designed to catch every single lash and creates a stunning, dramatic curl. After curling your lashes, apply a light coat of Supreme Lash Mascara in black, which will make it easier to blend your natural lashes with the falsies. We’ve not only updated the look of the mascara, but also added a more creamy consistency to the formula that makes it even easier to catch, lift, and coat even short and straight lashes. However, of course, we haven’t changed the nourishing ingredients which help to make your natural eyelashes fuller and healthier.
Step 7: Nude lips
On the wedding day, it’s extremely important that your lipstick lasts and can resist both kisses, delicious food, and delightful laughs. Therefore, one of the most important products for a long-lasting lip look is a lip liner that keeps the lipstick in place. Use a nude lip liner in the same color as your lipstick. If you don’t have a lip liner that matches your lipstick, choose one that has the same color as your natural lips. If you want a very long-lasting result, use the lip liner on the entire lip.
Once you’ve lined your lips, apply a lipstick in a nude, natural shade to tie the whole look together. This lipstick by Mac has a matte finish yet gives a lot of intensity and color to your lips. The lipstick ensures kiss-proof lips, as it has a rich creamy formula – and we all know that cracking, dry lips aren’t welcome at weddings!
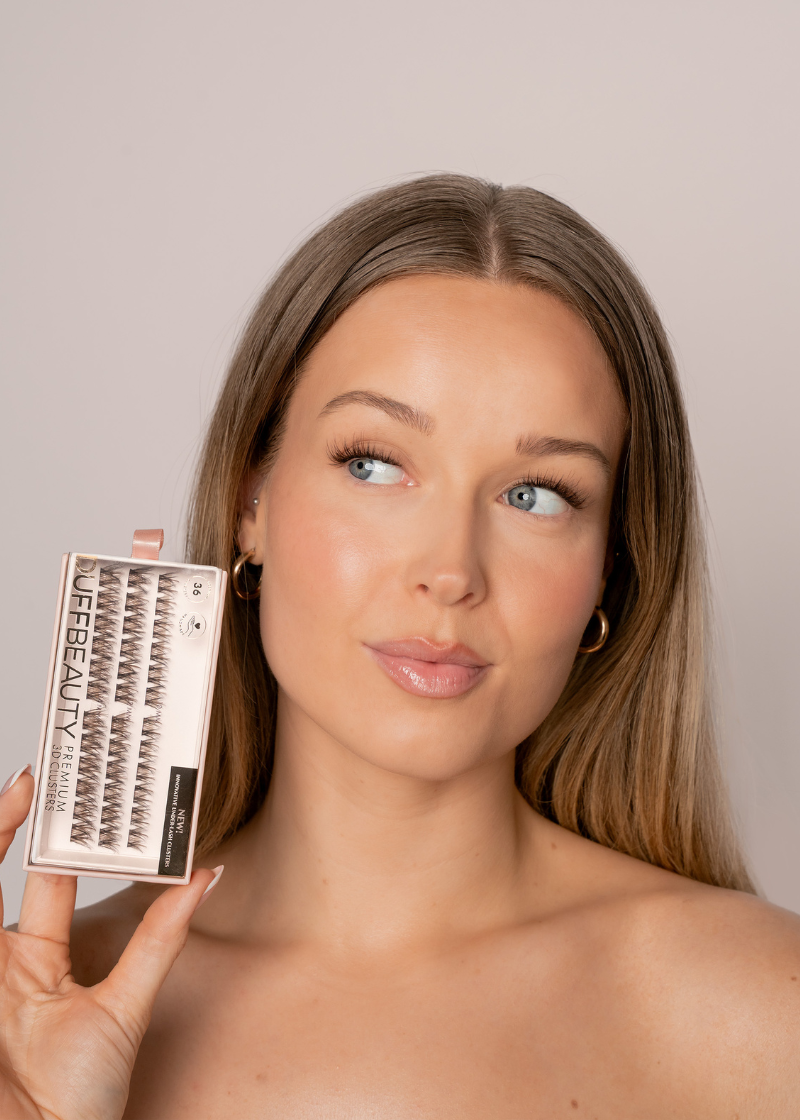
Step 8: Flirty, fluffy lashes
The last finishing touch that takes to complete an elegant and beautiful wedding makeup is false eyelashes! Use DUFF's eyelash glue in white as it dries clear - which gives a natural-looking finish. Moreover, the glue is also gentle towards your natural lashes as well as your falsies!
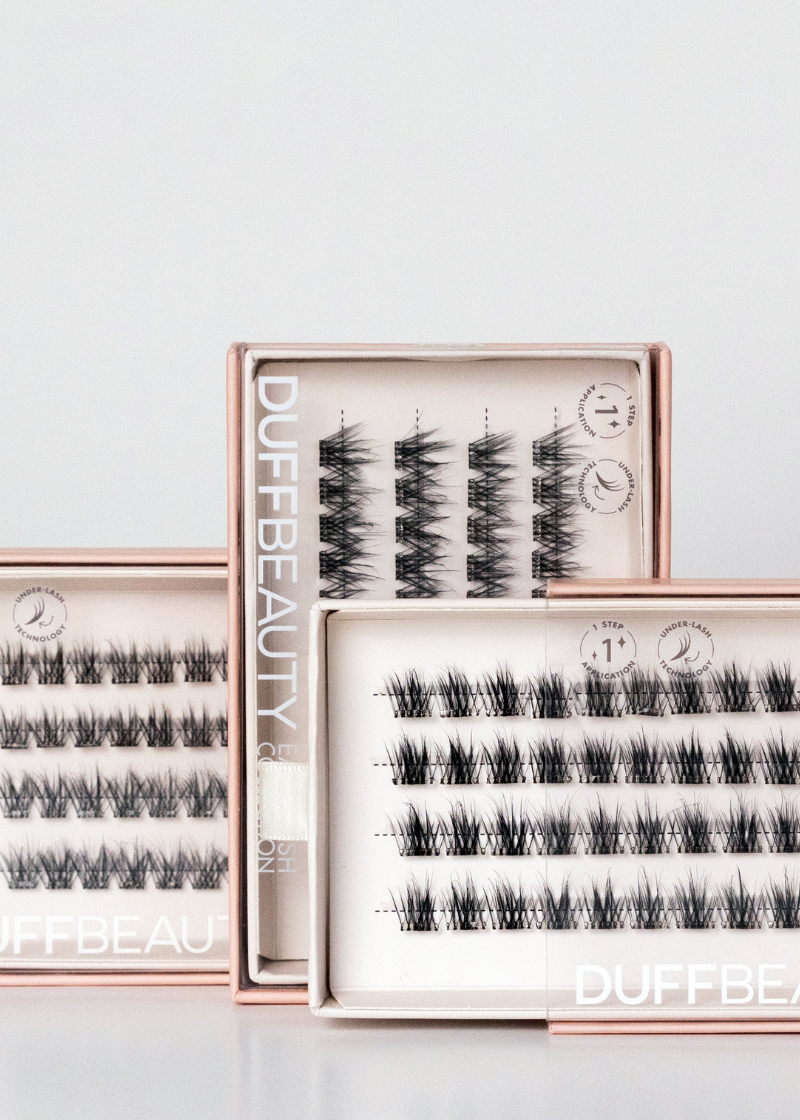
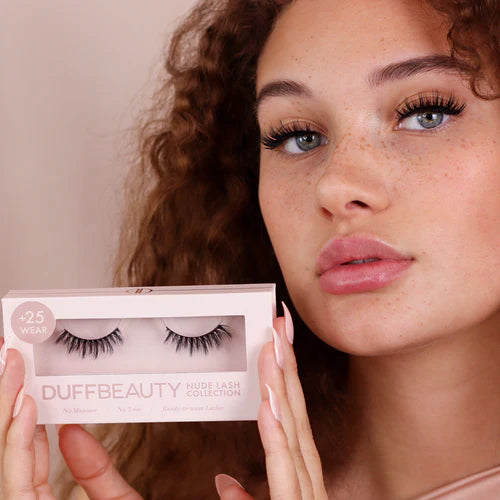
The Goal Digger lashes are a perfect match for a natural, elegant wedding makeup. Goal Digger creates a flirty doll-eyelash look, as its round lash shape, with longer lashes towards the center of the band, gives the illusion of larger eyes. The lashes are medium glam, and therefore perfect for a bridal or wedding makeup look. The fluffy lash effect will definitely make the whole party jealous!
Click here to get our step-by-step guide on how to apply false lashes.
And voilà, you got the guide on a bronzy makeup look that’s perfect for both brides and guests!