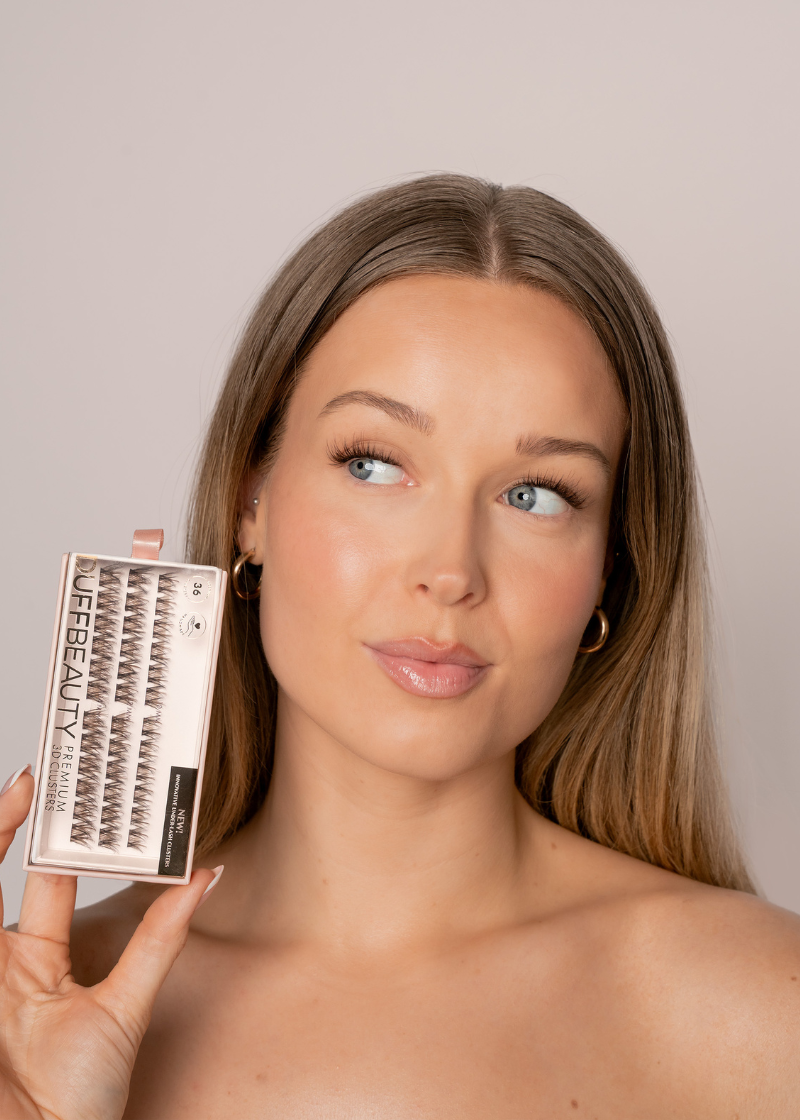
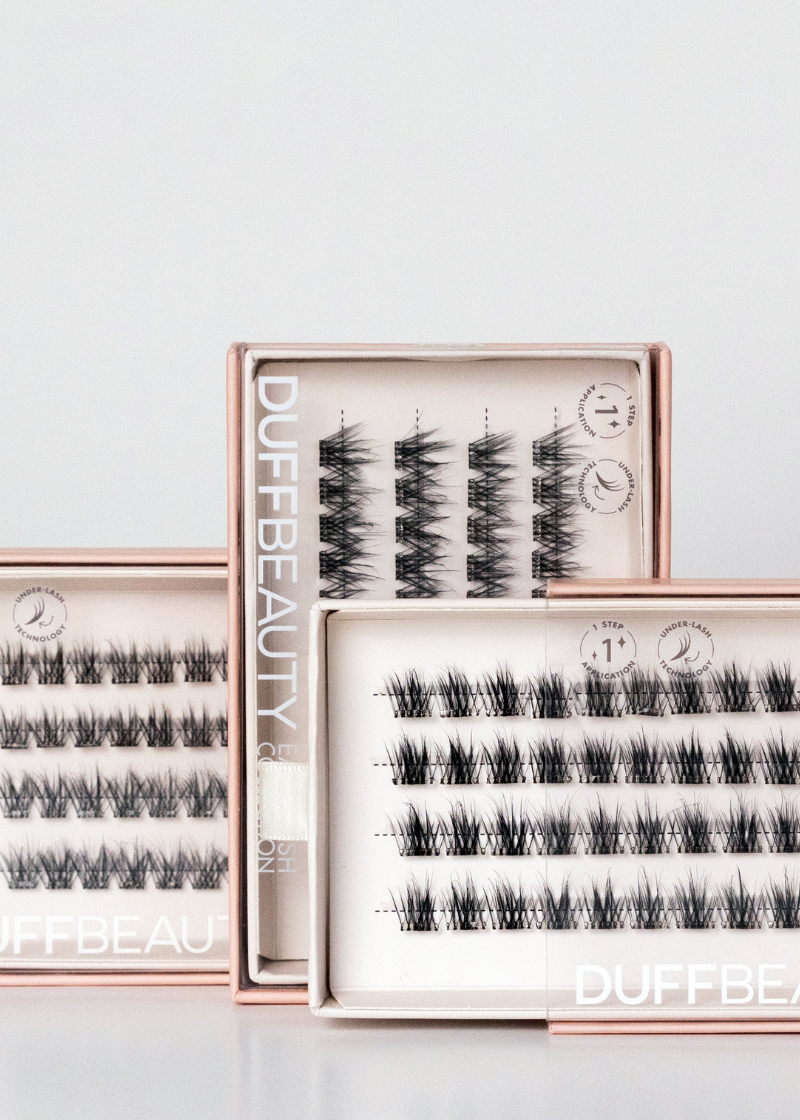
To become your own lash technician, it is important that you have a good understanding of the placement of your Extended Lashes. Once you know how to apply the lashes and, most importantly, where to place them, you will be ready to become your own preferred lash technician.
To help you get started, I will go over the basics you need to know when applying DIY lashes, so you can achieve the optimal result!
When it comes to the placement of Extended Lashes, there are two main rules you should follow:
- Never place the lash bouquet on the waterline.
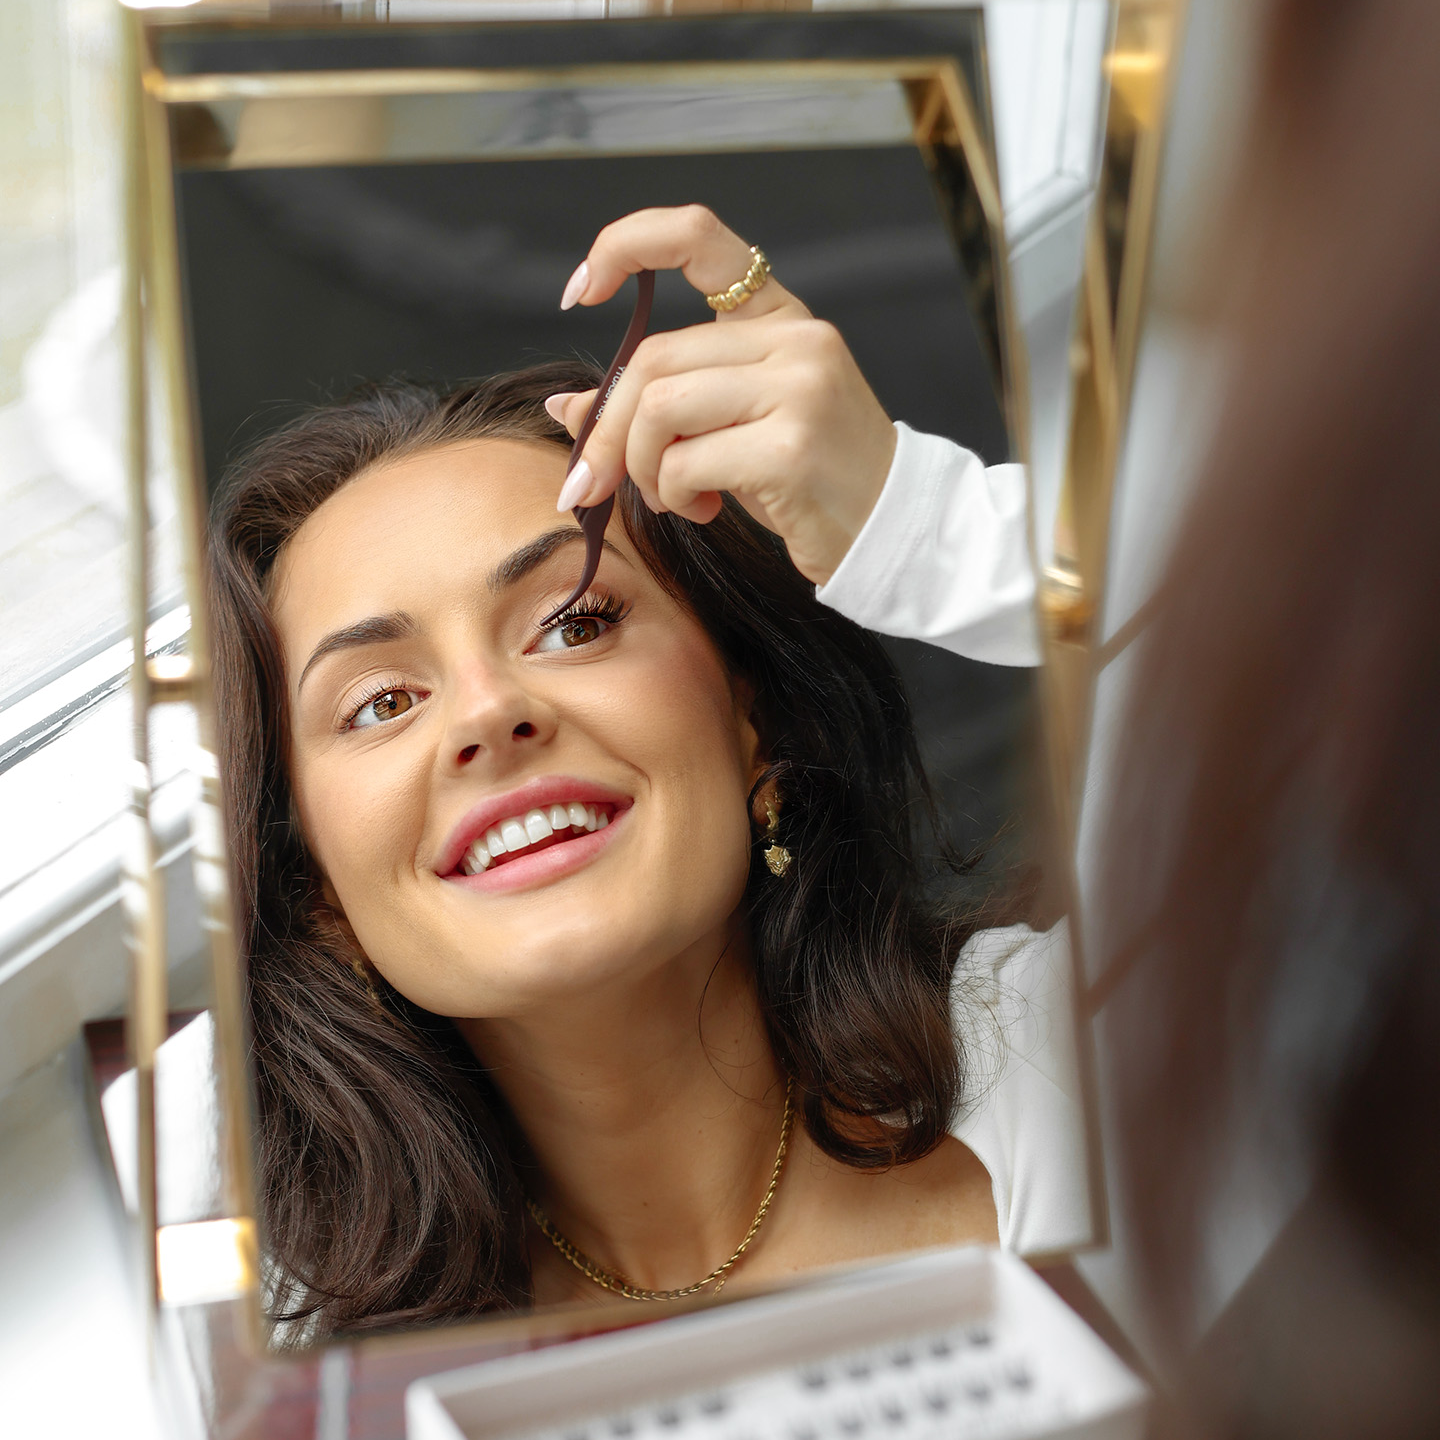
- Always place the Bond 1-2 mm above the waterline, so that the root of your natural lash is visible.
Waterline
The waterline is the pink edge of skin between your eyelashes and your eye. You should avoid applying the lash bouquet to this area for several reasons:
- The area is moist, which means that the Bond will not stick properly.
- The area is too close to the cornea, and if Bond is applied, you will be able to feel it, which can cause discomfort.
- Extended Lashes are not designed to be placed on the waterline, and therefore you will not achieve the desired result.
Placement of the lash clusters
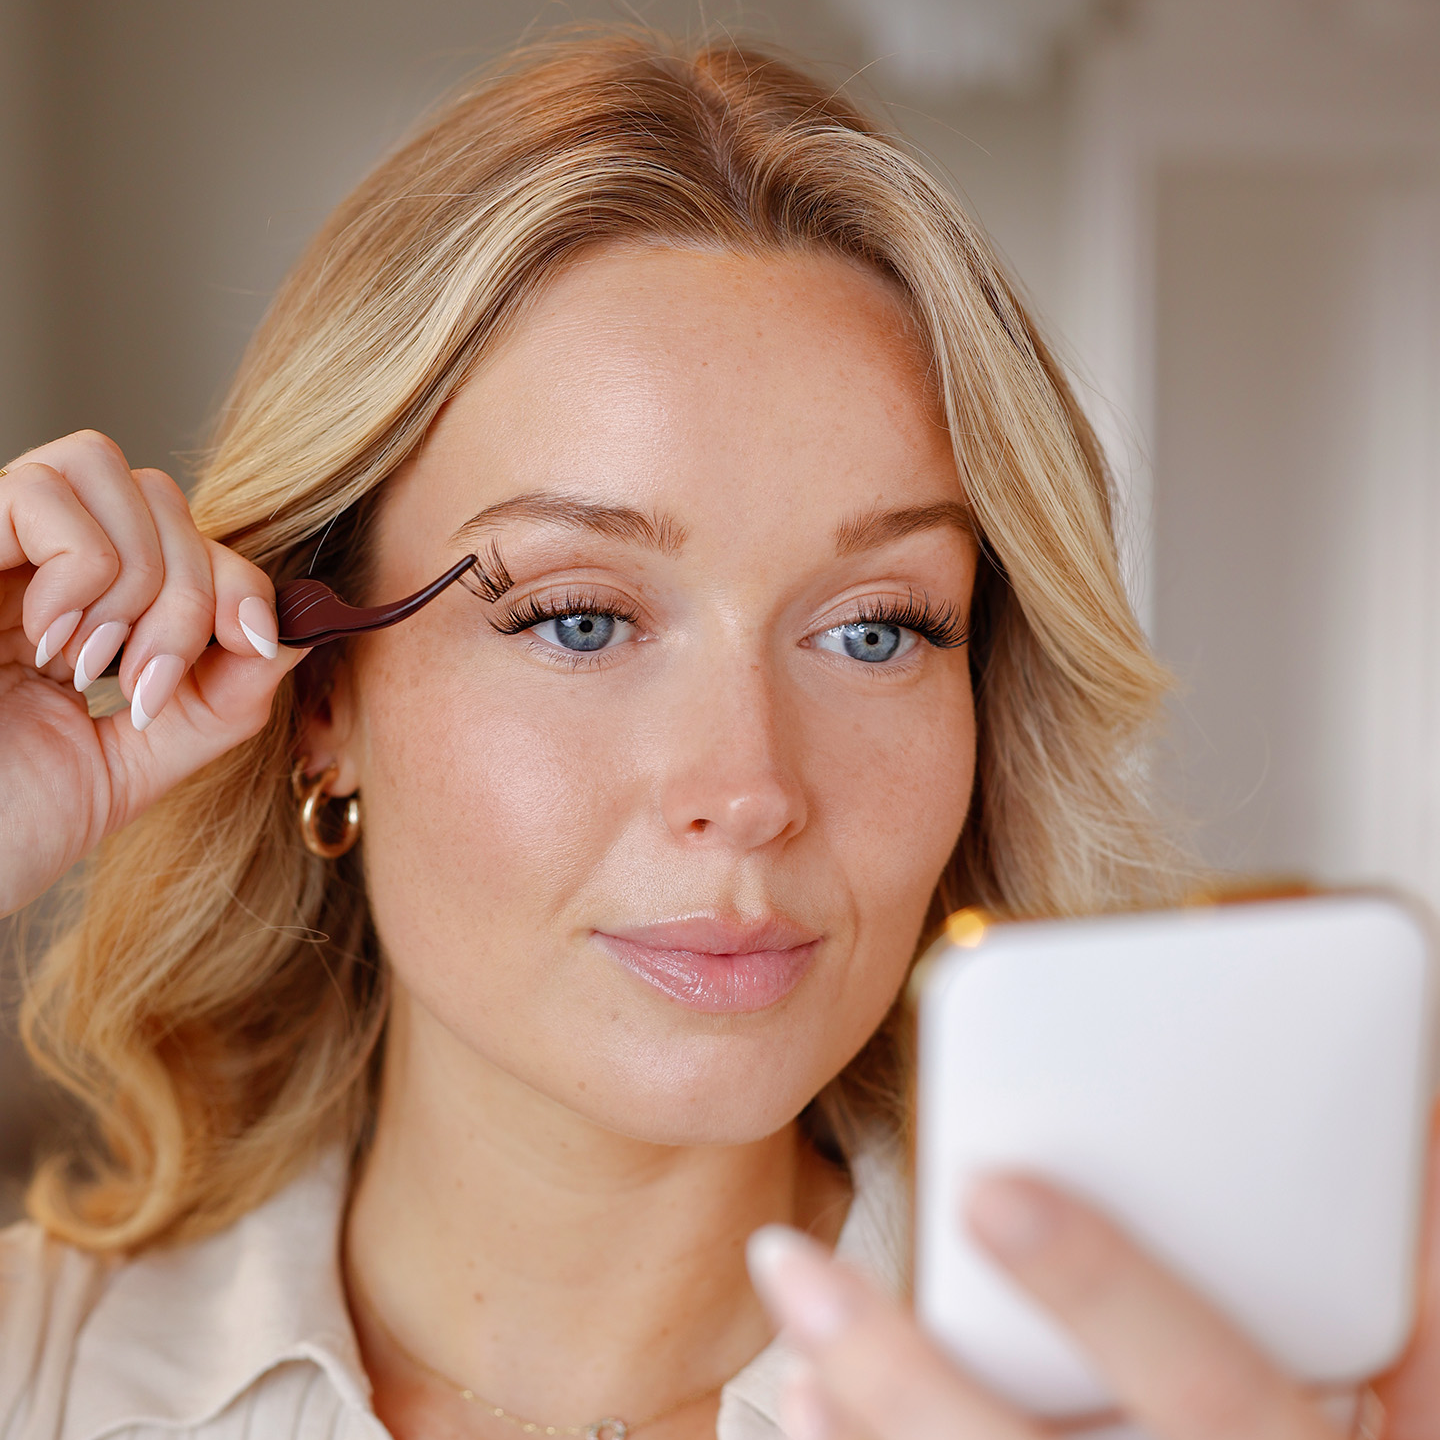
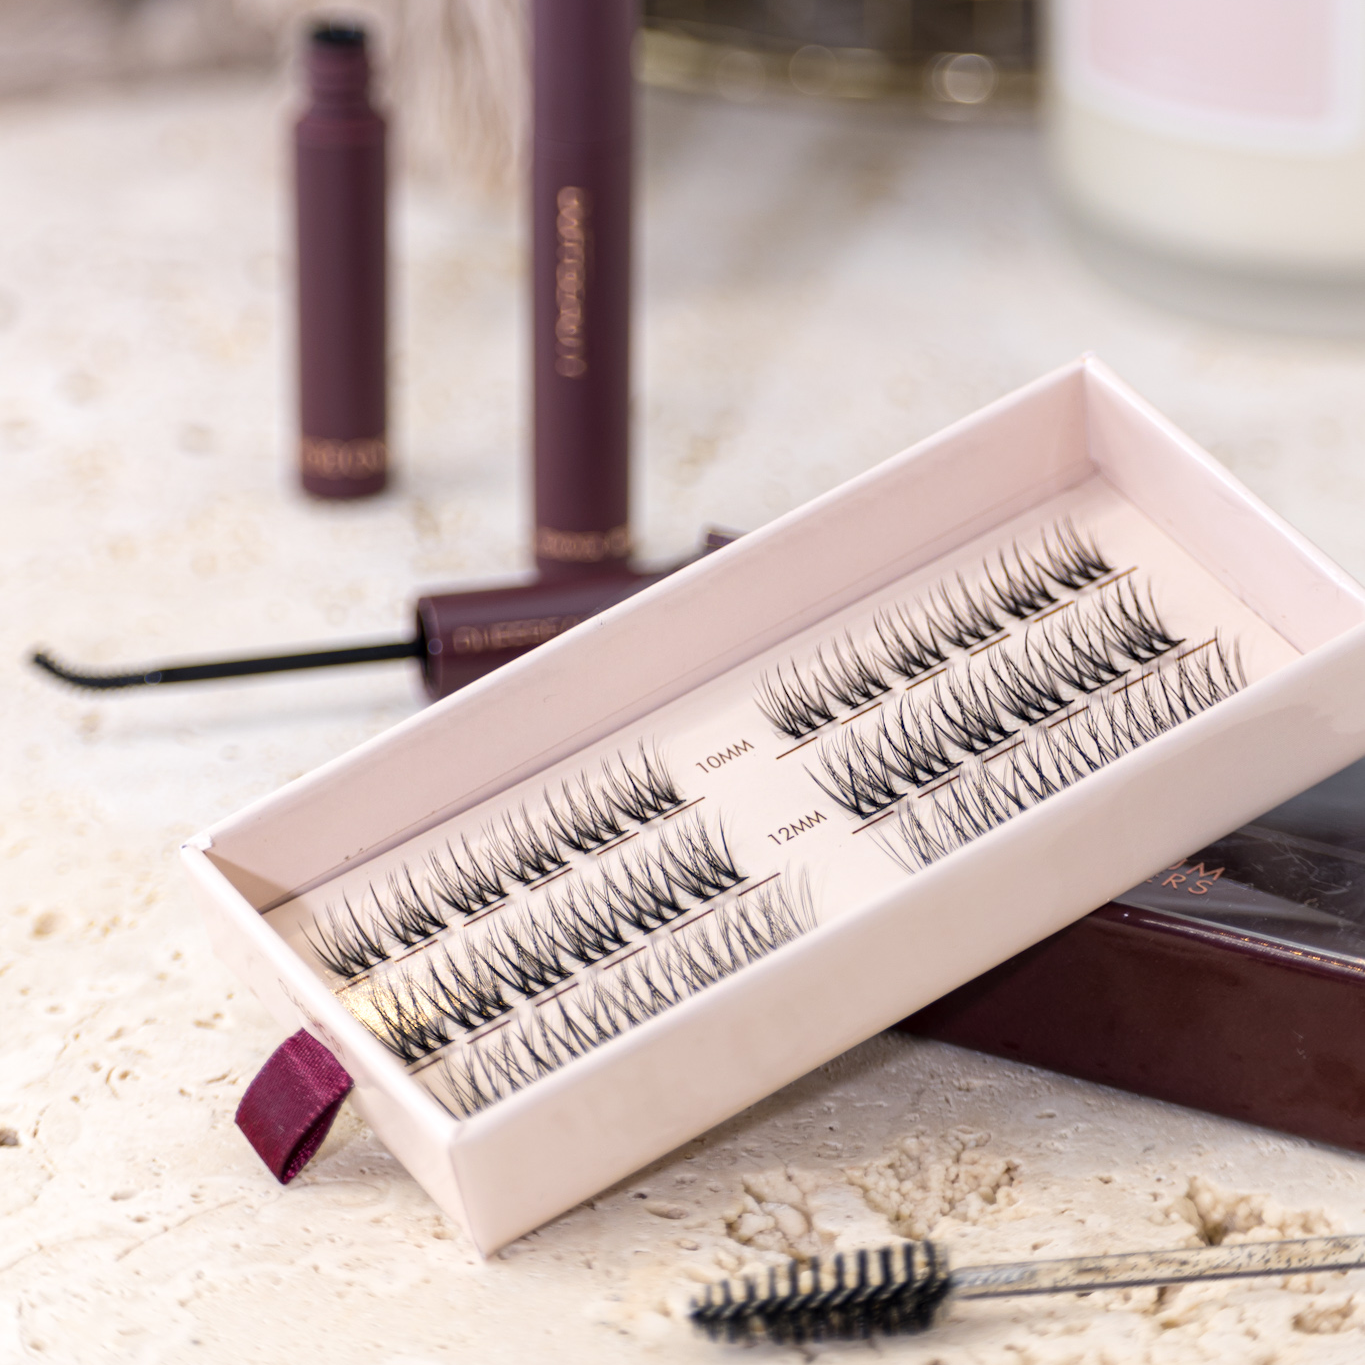
Another tip for placing the lash clusters, is to place the first bouquet a quarter of the way from the corner of your eye, which is approximately where the edge of your pupil is. You can start applying the lash clusters from the corner of the eye outwards, or vice versa, from the outside towards the corner of the eye, as long as you leave a quarter of space in the corner of your eye.
If you are new to using Extended Lash, we recommend starting the application from the outside and working your way inwards. This is because the corner of the eye is at an angle, and it is easier to apply the lash bouquet towards the corner of the eye at the end once you have created a natural line with the application of the other lashes.
Placement of the Bond
You should leave a gap of approximately 1-2 mm between the Bond and the waterline, so that you can still see the root of your natural lashes. This allows your natural lashes to grow while you have your Extended Lashes on. By leaving some space between the root and the waterline, your natural lashes can breathe and grow, preventing the growth of your own lashes from being inhibited.
@duffbeauty 🌟NEW!🌟 Our Extended Lash Collection is expanding and finally we can share our new two amazing lash designs with you! Caroline from our DUFF team is using Wispy 01 for her #DIY lash-look and we are absolutely in LOVE! 😍 #diylashes #beauty #lashes #diylashlook #denmark #duffbeauty #fyp #diylashextensions #tutorial #diylashtutorial ♬ In Your Eyes - The Weeknd
I hope you have learned more about the placement of Extended Lashes and that you are ready to become your own lash technician! You can click here to find your favorite style and get started right away. Enjoy!
